
Making a Greenland Cockpit Coaming
A strong wooden hoop that forms the kayak cockpit. The Greenland coaming is not fastened to the kayak frame but laced with the amiq (skin) through coaming lacing holes.
Cockpit coaming shape and build
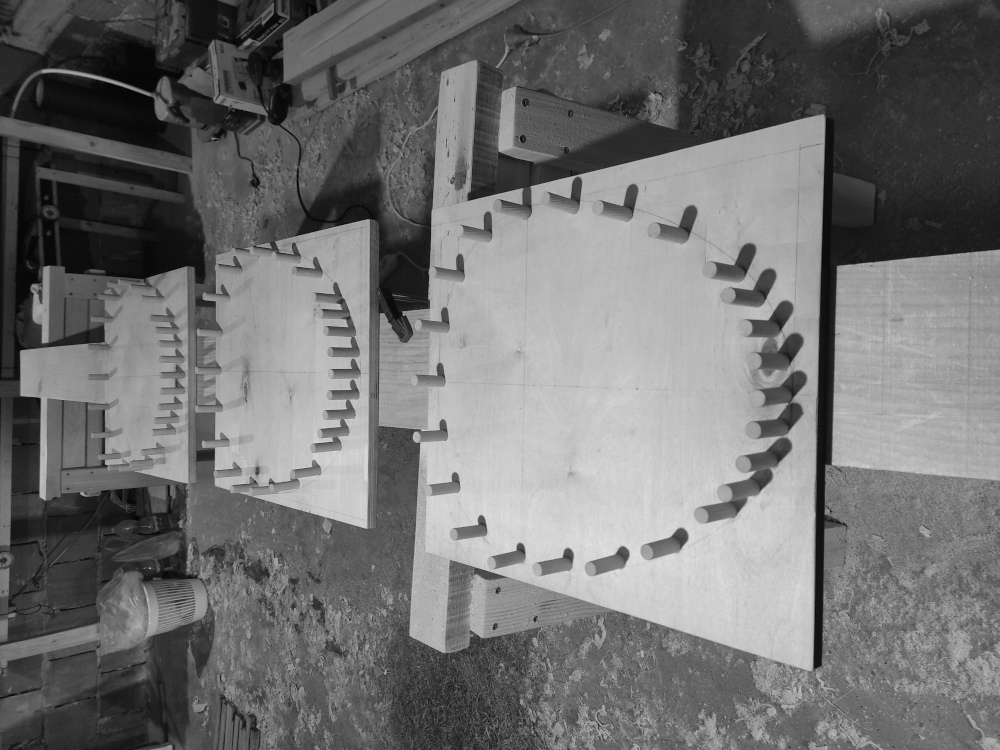
The coaming is created with steam-bent Slavonian oak. Although it’s possible to bend it freehand, a bending form is used to achieve a nicer shape.
The shapes of these forms are similar to an egg. It’s actually made through experimentation, so having something flexible in your workshop can really help here. A bandsaw blade turned out to be excellent for the job. Once you get the desired shape on one side, the rest is easy. A few spots are translated from one side to another and connected with the bandsaw blade.

At right, figure 115 (from ‘Kayaks of Greenland’ by Harvey Golden) shows the more common coaming shapes among Greenland kayaks. The selected shape was something between triangular and oval, which should give a little more room for the back and hips than oval or round shapes.
Most traditional Greenland kayaks did not have a coaming edge to hold the spray deck. “Some had a short stick bent along the back of the coaming or short cleats to form a lip that held the back of a spray skirt or tuilik, but a tightly tied drawcord usually held them on the coaming” (Christopher Cunningham, ‘Building the Greenland Kayak’). For modern spray decks with elastic bungees, an edge around the entire coaming became necessary.
Slavonia (a region of Croatia) has always had great oak. The best traditional fishing boats, which can be seen on the Drava and Danube rivers, were actually built from it as it was extremely rot-resistant.
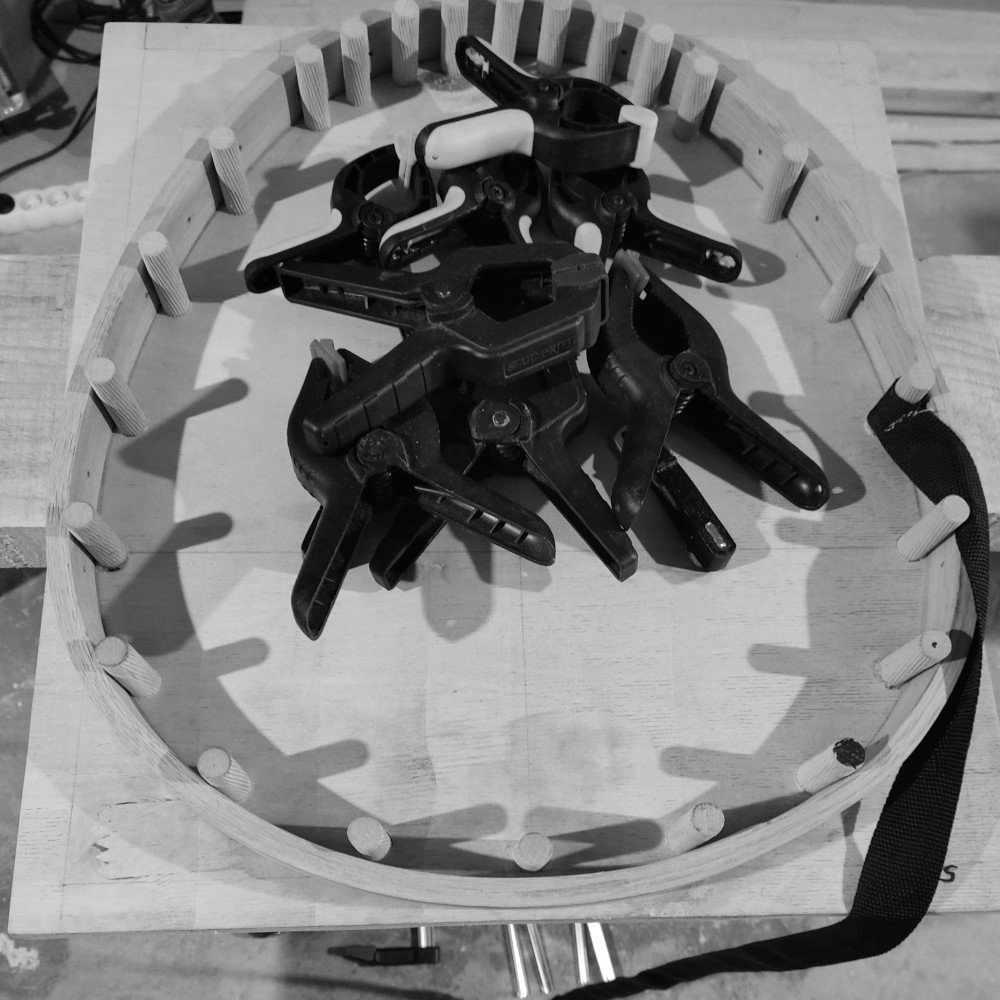
With a compression strap and soaking in water for a few days (if it’s kiln-dried), it’s possible to achieve nice curves without cracking.
Magic usually starts to happen when the steam box reaches a temperature of 80°C and the wood is steamed for an hour per 2.5cm of thickness.
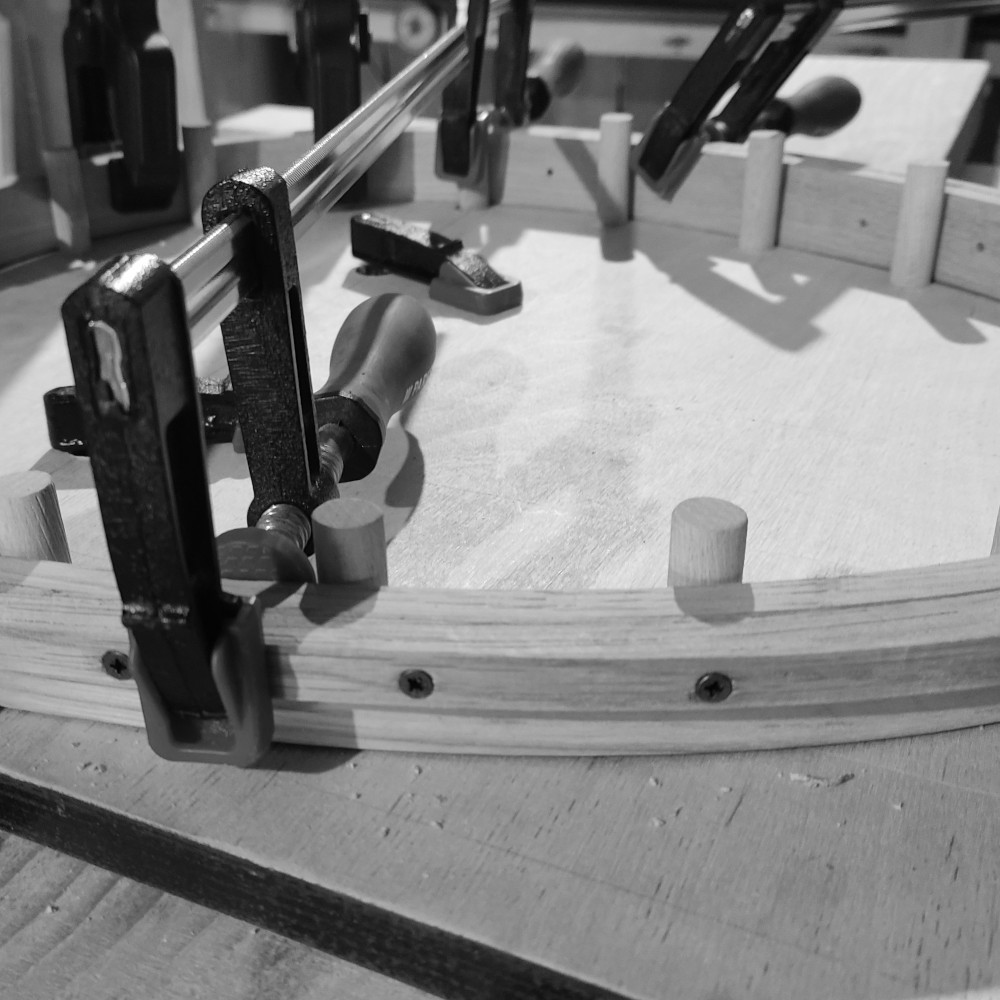
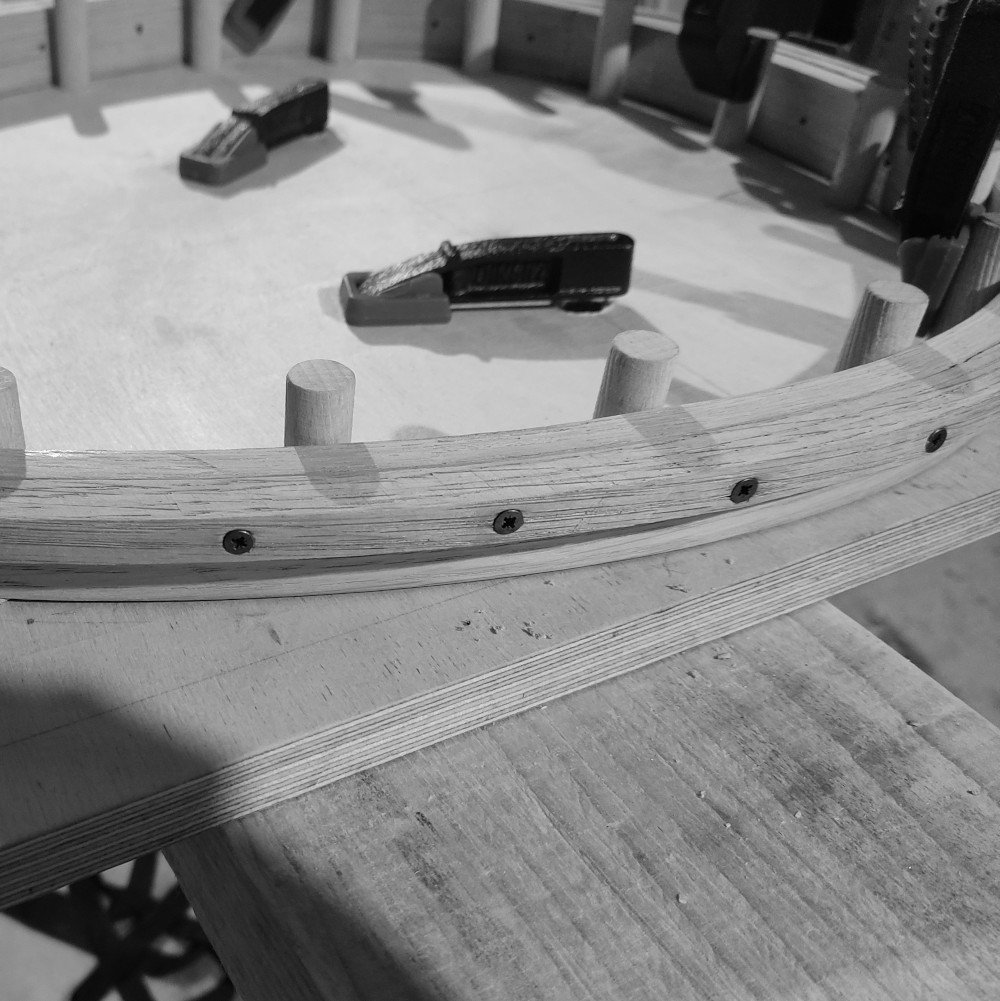
When the coaming is bent over the form and scarf joints are fastened with PU glue, the coaming edge is bent around the coaming and secured with bronze screws. Bronze has resistance to corrosion, and its darker color blends nicely with the oak.
Once the coaming is correctly positioned over the Masik (Greenlandic word for the main curved deck beam and cockpit forward end) and Isserfik (cockpit aft-end deck beam), it’s ready for lacing with the skin.
Cockpit coaming size
It should be noted that these Greenland coamings were small. Regarding the width of the coaming, H.C. Petersen writes in his ‘Instruction in Kayak Building’ book: “The external diameter of the hoop is determined by the width of the kayak. It must be 10cm less than the width of the kayak.” Looking at historical Greenlandic kayak drawings by Harvey Golden from his ‘Kayaks of Greenland’, it can be seen that H.C. Petersen’s statement is actually very accurate, as most coamings were in this range.
The inner coaming length is usually slightly bigger than the width. Compared to historical examples, I’ve increased it slightly (around 3cm), but you can’t actually increase it too much because of the correct Masik position needed to have a nice tight fit and contact of the Masik with your upper knee.
Interestingly, Greenland hunting kayaks often had coamings slightly offset to the right or left depending on whether the hunter was right-handed or left-handed, as a centered coaming was a poor working position for the hunter (H. C. Petersen, 1986).
More coaming details can be found in creations part.