
Cockpit Coaming Update
There are a few things that I recently changed when it comes to cockpit coaming.
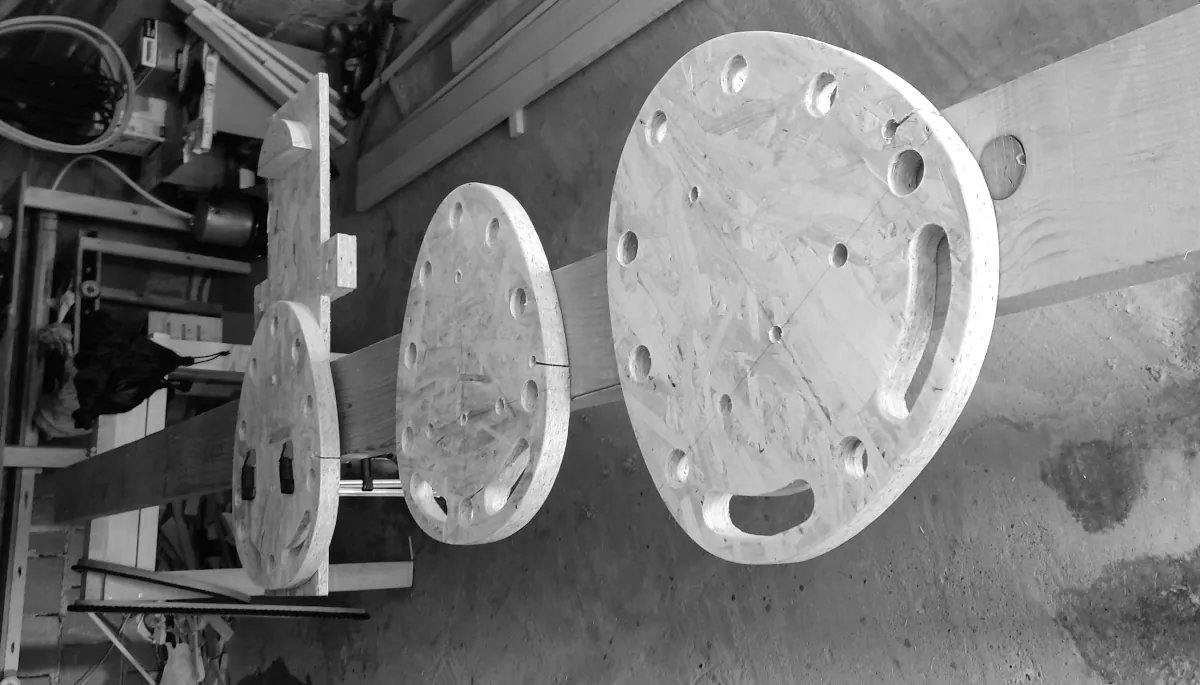
Coaming building form
While bending oak, because of wood moisture and steam box conditions, wood fibers become loose and the wood becomes softer during bending. My cockpit forms, which are made from wooden pegs (these can be found in my Making a Greenland Cockpit Coaming post), used to make small ‘scars’ in the coaming during bending at peg locations where there are greater curvatures. It’s not a big deal, but in order to look nice, more sanding is required, and again, I don’t like sanding, so ‘more sanding’ was not an option! I decided to build new forms in order to resolve this problem.
Additionally, I needed a keyhole cockpit for my new creations, so I decided to make an ‘extension’ form to which I can attach my existing Greenland cockpit form with two wooden pegs so I can make a keyhole coaming.

A4 stainless steel screws instead of ‘bronze’ screws
After three weeks of testing at sea, I left one of my kayaks in the sea for the whole time, tied to shore, just to see what would happen. The A4 stainless steel screws at the stem protections looked like new ones, but I did not like what I saw on my cockpit coaming ‘bronze’ screws. I like patina, but I noticed some small spots of rust too, so is it true bronze? Probably some thin layer of bronze - bronze plated… whatever. I decided to switch to A4 stainless steel screws. Darker colors look nicer to me with oak wood, but this is not bad either, and more importantly, I know it will last.

Cockpit coaming rope lip
Additionally, I’ve decided to try a somewhat different cockpit edge/lip: a rope lip. I’m not reinventing the wheel here either.
Again, most traditional cockpit coamings didn’t have a lip. Mostly some small pieces of bent wood attached to the back edge of the coaming. Let’s say that a lip around the whole coaming is a bit of a modern touch to traditional coaming.
Looking at ‘Kayaks of Greenland’ by Harvey Golden, I found that Maligiaq Padilla stitched 5mm rope to the coaming for his rolling kayak that he built.
‘Maligiaq Padilla of Sisimiut built this rolling kayak in November/December of 1998. At the time it was built, Maligiaq Padilla had at age 16 become the youngest Greenlander to win top ratings at the Greenland National Kayaking Championships.’
‘Padilla stitched a 3/16” (5mm) diameter line to the coaming…’
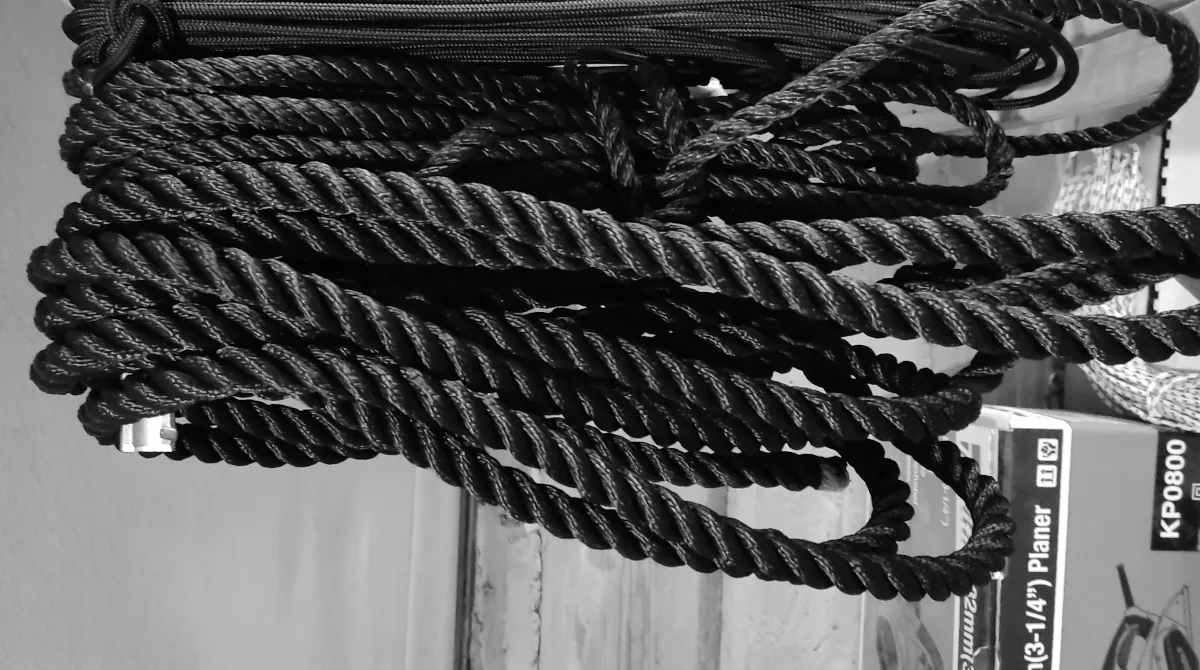
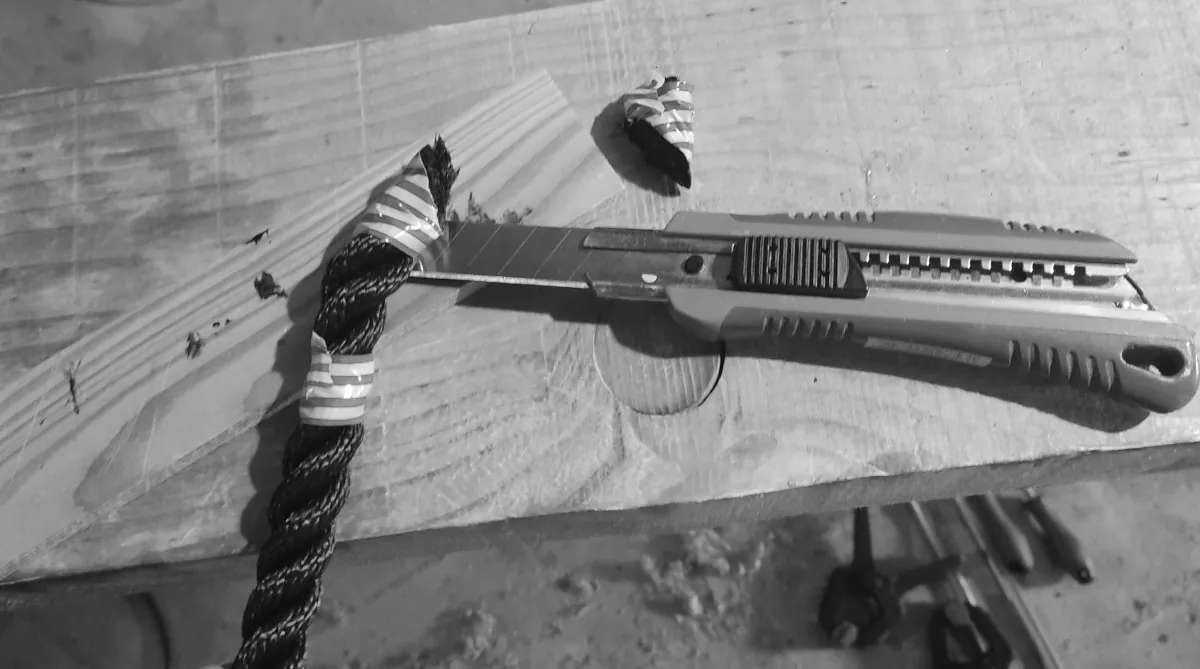
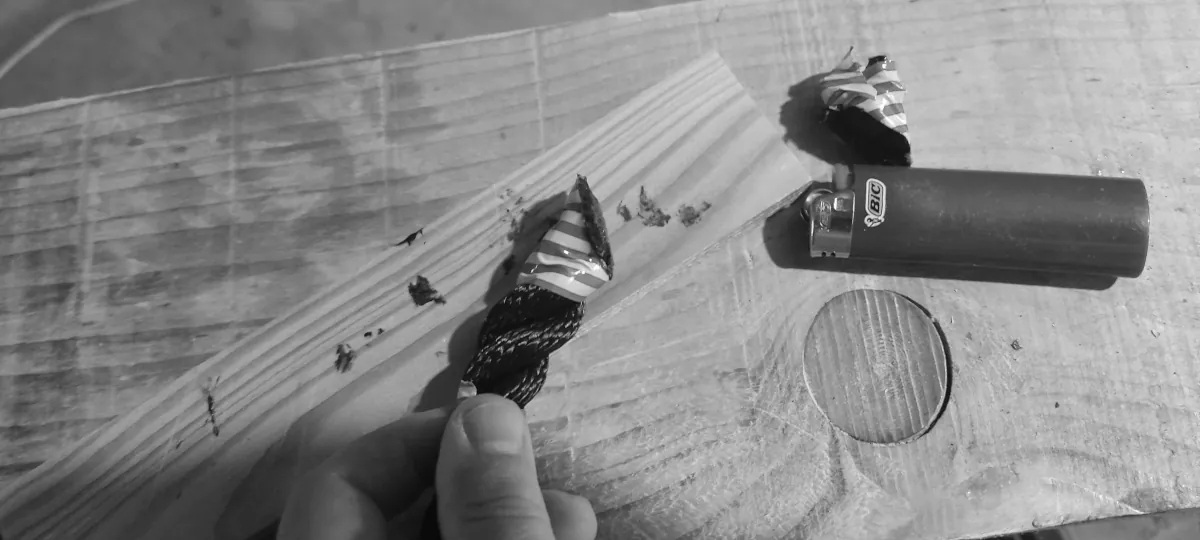
I found 10mm and 16mm three-strand black HT Polyester rope, commonly used in nautical applications. I cut one end, but with a few turns of insulation tape before cutting in order to stop unraveling, and lightly melted it with a lighter. I set the rope around the coaming with a few clamps so I could tighten it and mark the other end for cutting, then removed the rope from the coaming. After doing the same at the other end, I melted both parts with a heat gun and firmly connected both parts. Nothing smells better than polyester! You’ll eventually need a clamp for mounting the rope on a coaming because it’s a tight fit.
After attaching/sewing the coaming to the skin, I’ll need one more pass of lashing in order to firmly attach the rope lip to the coaming. I think it will be robust enough for its purpose, but time will tell. Something that I know is I like ropes and threads more than screws!
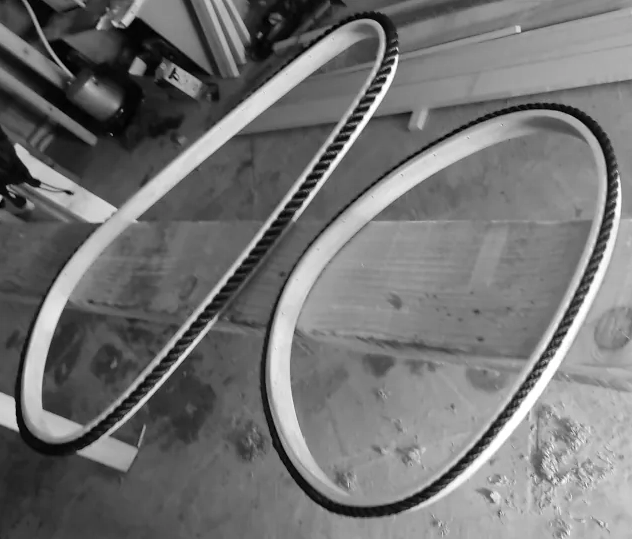
I must say it looks nice to me, so I know what I’ll use in my next kayak build for a coaming lip. ;)
More coaming details can be found in creations section.